
anastasia,
angelzhng,
beauty,
beverly hills,
blogger,
dipbrow,
essence,
eyebrow,
eyebrow pencil,
makeup,
pictorial,
pomade,
routine,
youtube
UPDATED EYEBROW ROUTINE + PICTORIAL !
19:56
I recently decided to splurge on the Anastasia Beverly Hills Dipbrow Pomade. I mean, it wasn't all that expensive, think it was $25 at my local sephora. But compared to the $3 Essence eyebrow pencil I was using previously.. I think it's quite a jump.
But I decided to pick it up because I decided I needed to branch out and try new things as far as eyebrows go, so this gel, mousse, thing seemed like a good idea.
I have the video posted down below, if you want to watch it, just scroll down a bit, and you'll see it. It's the first one.
The second video I put on here is my old brow routine. And I thought I was just include that one anyways, incase any of you still love and live by eyebrow pencils.
Okay, now for the pictorial !

My first little pictorial! How exciting. This is just me filling them in. None of the setting, or concealor steals that I usually will do after.
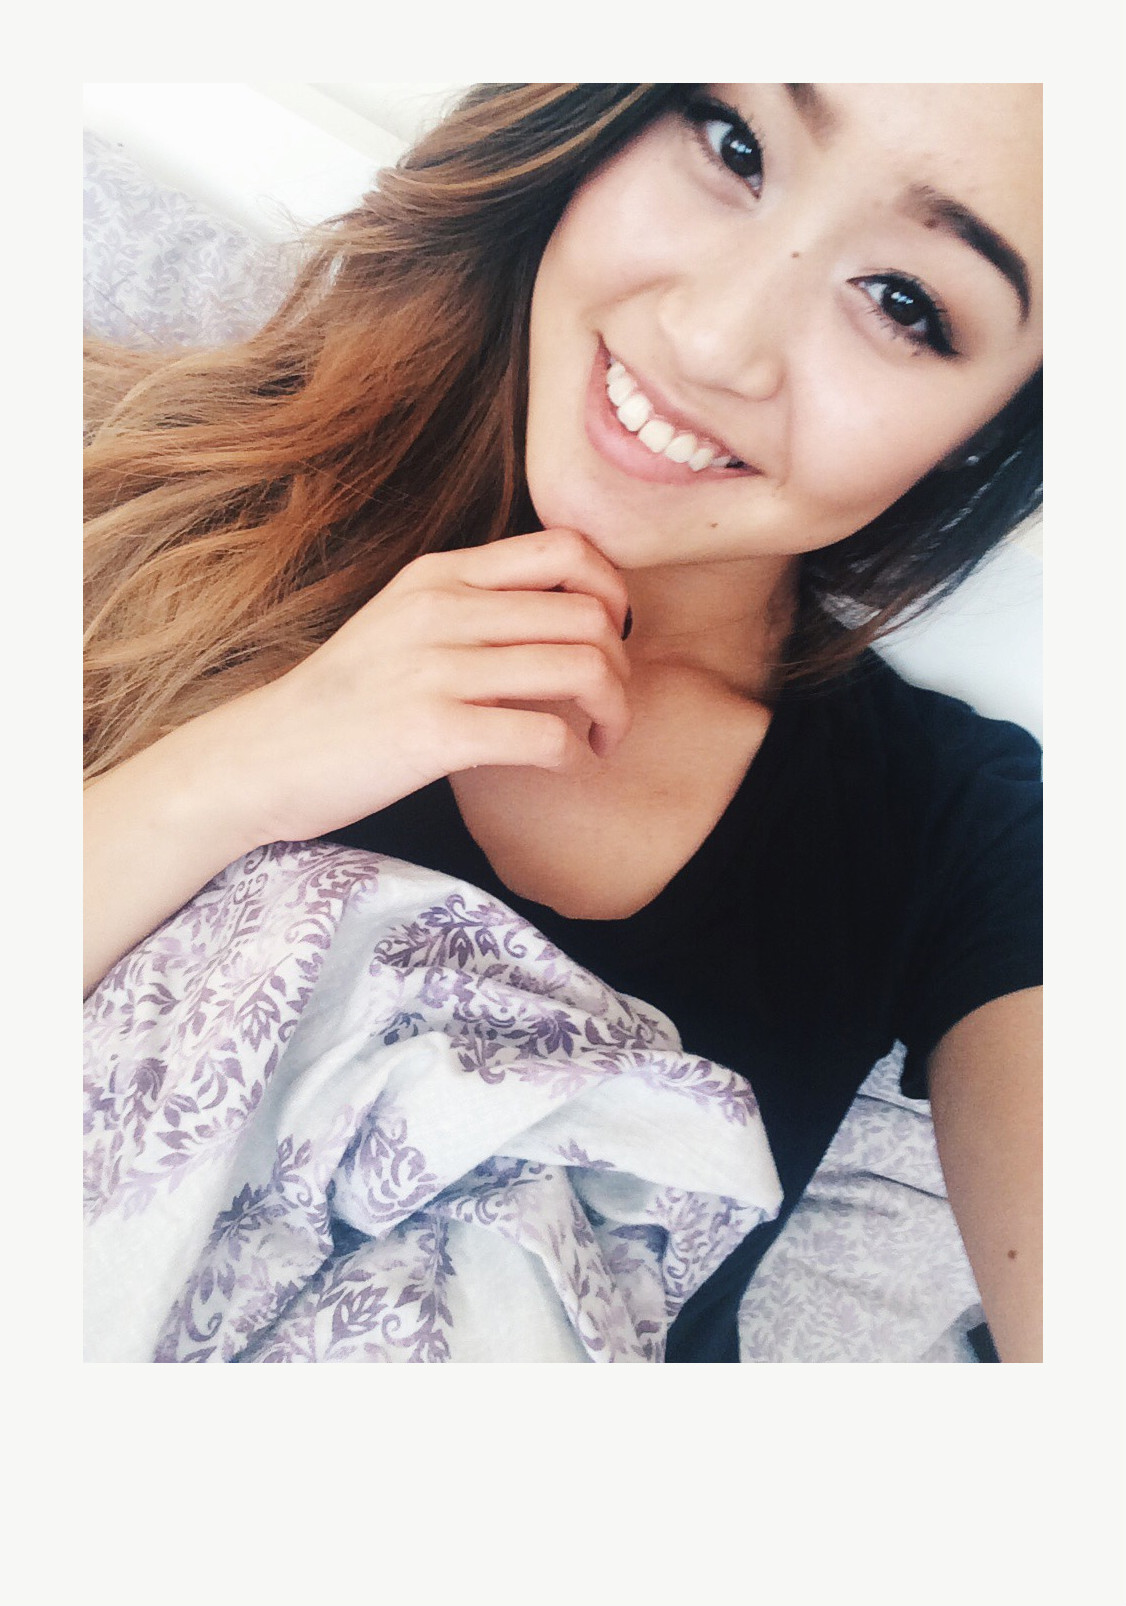
1. So this is my natural brow. It's dark mostly, but it has a few space areas.
2. The first line I draw with the Dipbrow is on the bottom of my brow, from where the dark part of my brow starts to where the arch is.
3. Next step is to draw the tail. So this just connects from where I ended off on the first line down to as far as you want your tail to be ! I usually over draw it just a little bit, to make my arch look... archier.. LOL
4. Moving on to the top of my brow. I usually start by taking whatever is left over on the brush and do the same steps as the bottom to kind of lightly trace how I want my arch to be. You should try to follow the natural shape of your brows when doing this. You can over draw it a little bit to make it look a little thicker, or make the arch look curvier, but don't over do it, and don't try changing the shape too much ! After I lightly outline it, I will pick up more product, to solidify that line like you see in the picture.
5. Using whatever is left on the brush, I fill in the gap that is at the end of the brow, making sure it's nice a opaque.
6. Then what I like to do is take my brush and slowly start to blend the colour forward to the front of my brow. Usually, where I first drew those two lines , there will be some extra product, so I just take my brush and feather that colour out towards the front.
7. once again, using whatever is left on your brush, lightly outline where you want the bottom of the front of your brow to end, as well as the top.
8. Turn your brush 90 degrees, so it is facing vertically instead of horizontally, and start to feather that colour closer and closer to the front. But making sure you are using a lighter hand when dealing with the front of your brow.
9. and if you think the front of your brow is a little too dark (it's hard to grasp how light of a hand you need to use sometimes), just take your spooly and feather the colour at the very front out even more, to create that ombre effect.
Eyebrow routine with the dip brow pomade :
Eyebrow routine with an eyebrow pencil:
Until next time,


0 comments
Thanks so much for visiting and taking the time to comment ! Hope you're having an amazing day (:
Angel, xx